 This is a re-post of an article I wrote a ways back but I still think it's just as useful today as it was 3 years ago. Having the ability to cook your food wherever and whenever is critical to you getting your daily dose of calories. That way you can keep moving forward whether you're rolling on pavement or taking on the trail.
The original post can be found here. Without further ado, here is the how-to.
As discussed in our previous post about alcohol stoves we think they're the bee's knees. So much so that we decided to start building and testing the ones we're finding out in the wild. Today, we'll be building the alcohol stove based on the video from Tom Allen.
Ready to get your hands dirty? Grab a pocket knife and a can opener and lets do this thing!
Warning: before we begin this post we warn you that this how-to requires use of sharp tools. Also, use extreme caution anytime fire or flammable fluids are being used. If the kids want to get involved we recommend that this activity should be parent led and supervised.
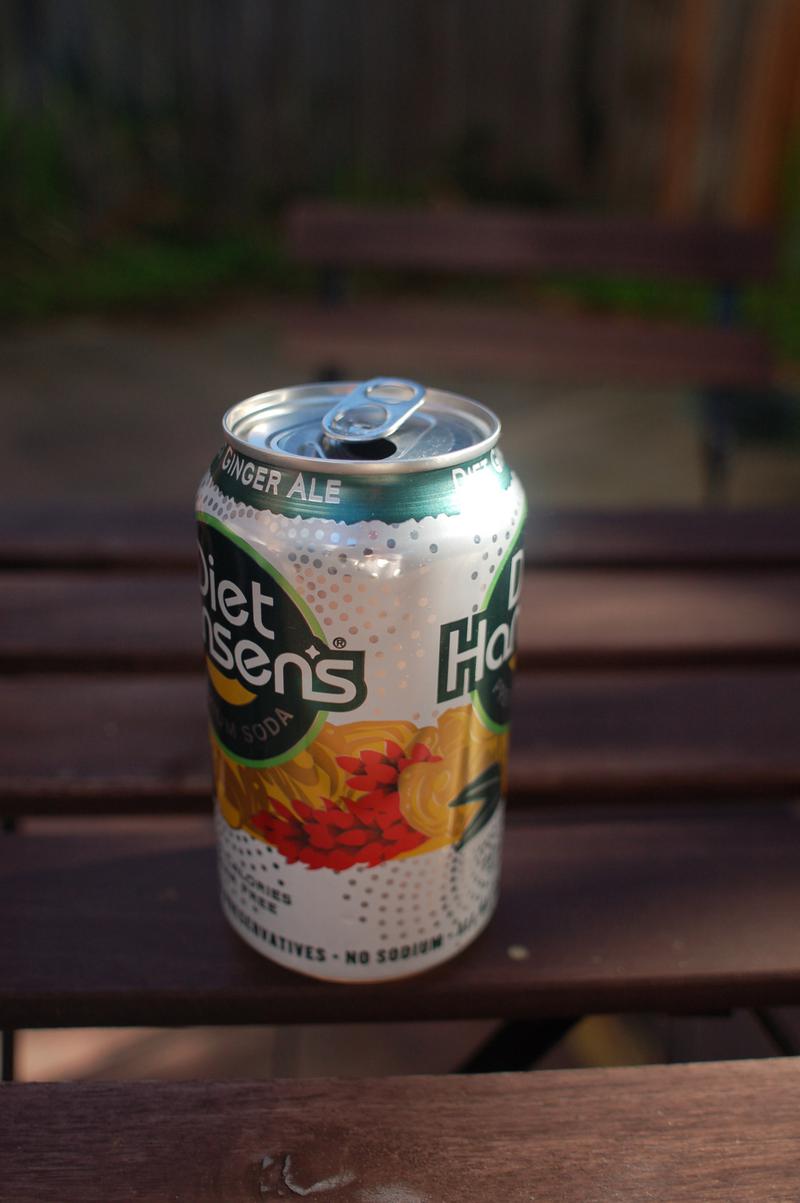
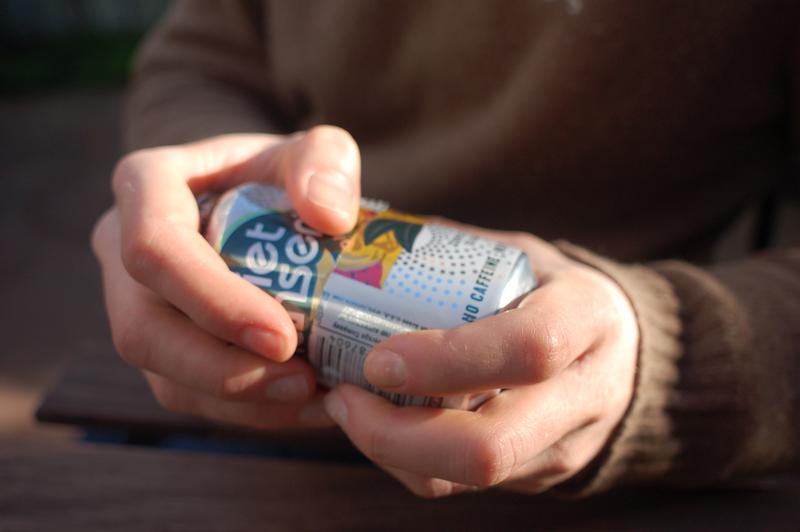
1 - Get a soda (pop) can
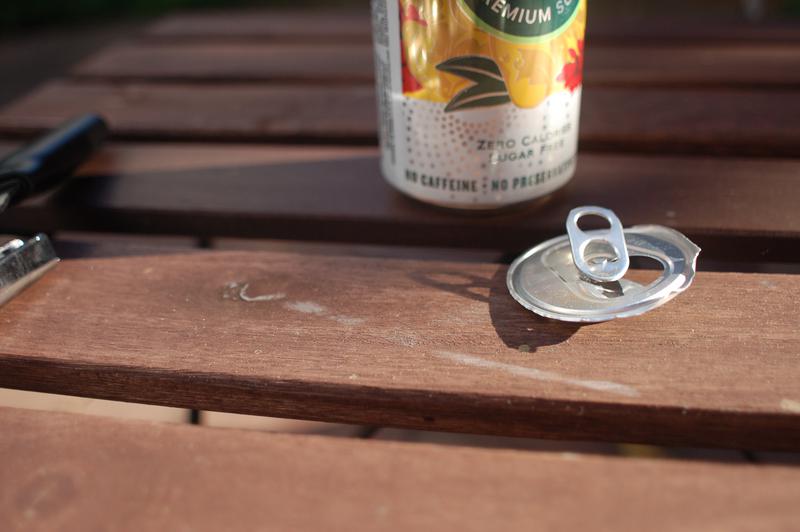
2 - Remove the top area with a can opener.
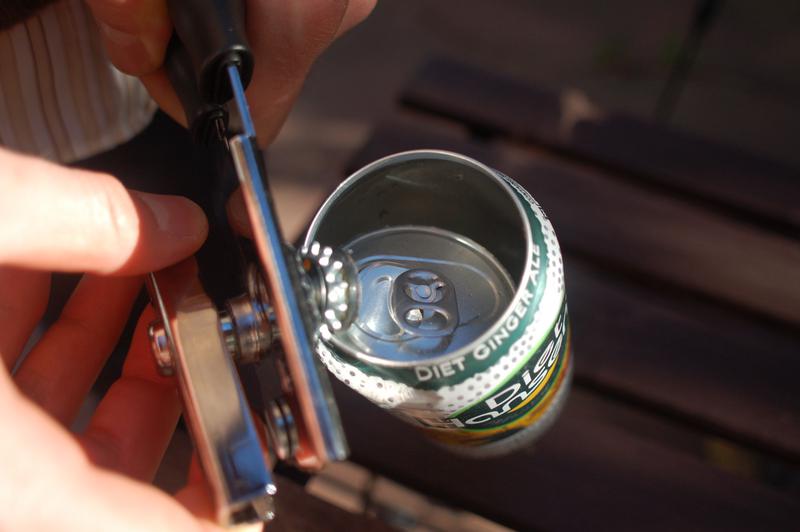
Note: I find it much much easier to use a can opener for this step. A pocket knife is sufficient enough but it may take longer and it will be more messy.
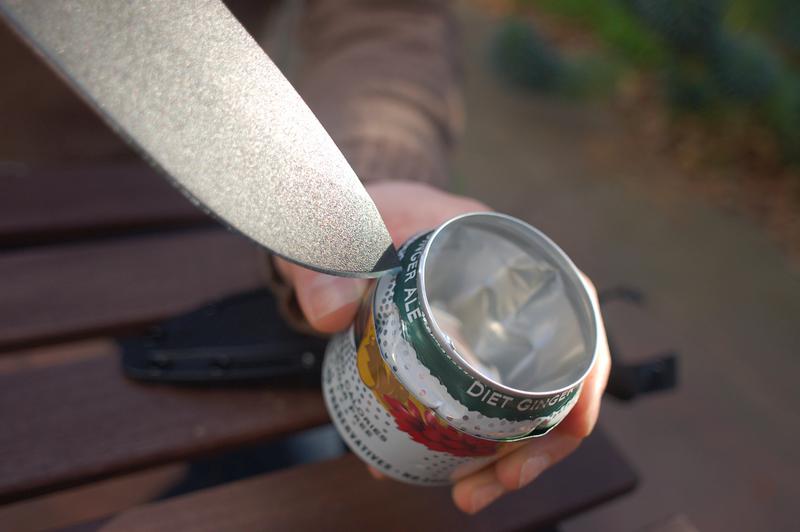
3 - Cut a slit in the middle of the can.
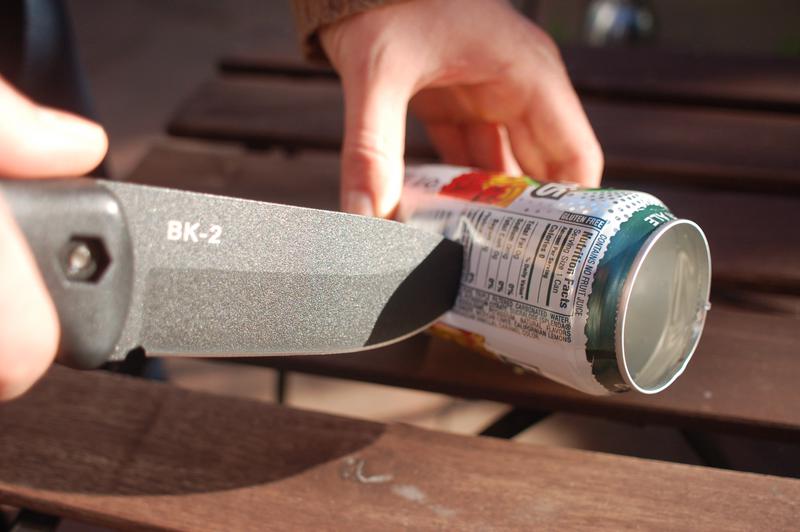
Note: My knife here is overkill. A simple pocket knife should suffice.
Note: Make the incision big enough to get a pair of scissors in.
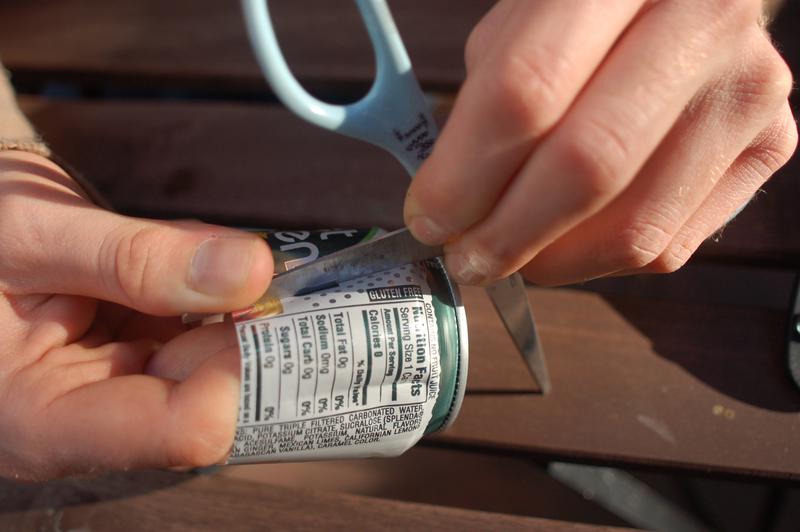
4 - Cut the can in half.
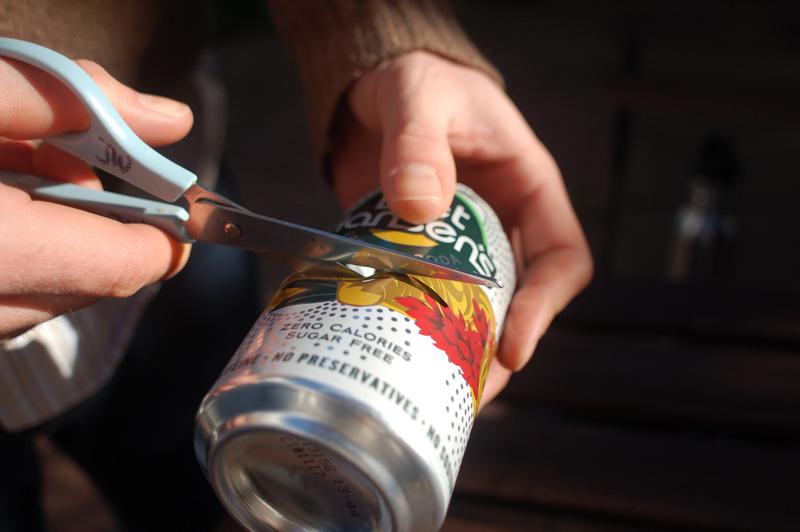
Note: Try and keep the cut even as possible.
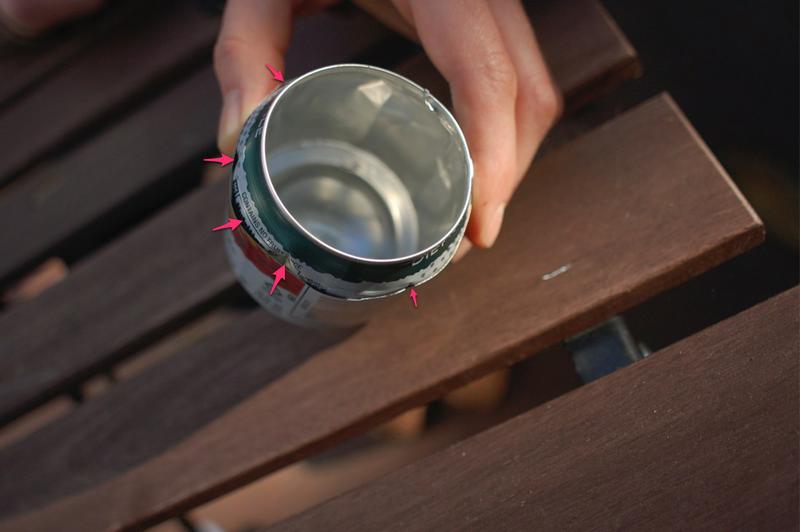
5 - Clean the soda pop can edges on the each piece.
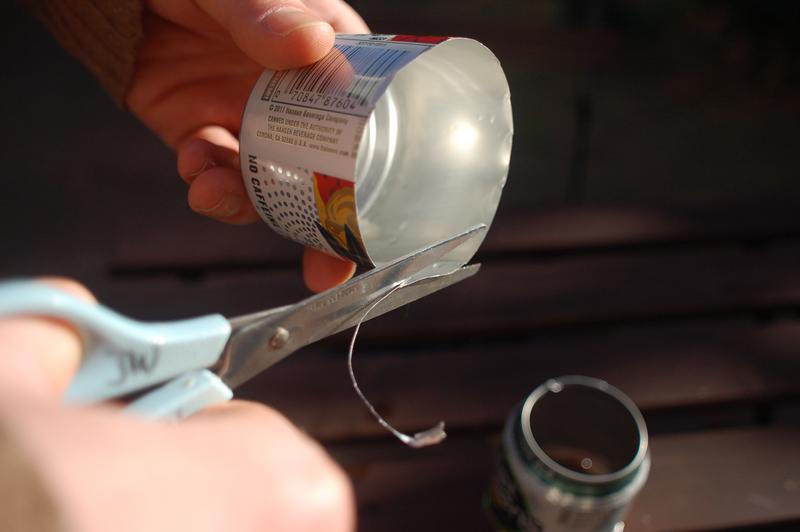
Note: Notice my orientation? It is easier to cut from the bottom up than to cut from the top down. You will always get a nice smooth edge as long as you cut in the bottom orientation.
6 - Measure the bottom and top piece.
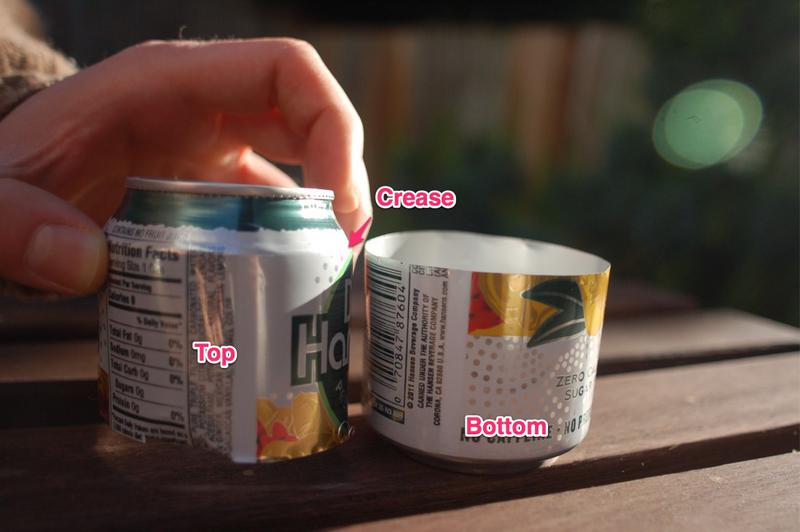
Note: the crease should align with the top of the bottom piece when the top portion is nested inside the bottom portion.
7 - Indent the sides of the can.
Note: equally space indents around the top piece.
¡¡Safety Note!! Be careful during this process. You want enough even pressure to create the indent but not enough for the sharp implement you're holding to cut through the aluminum. (Thus my choice for a cheap pair of scissors)
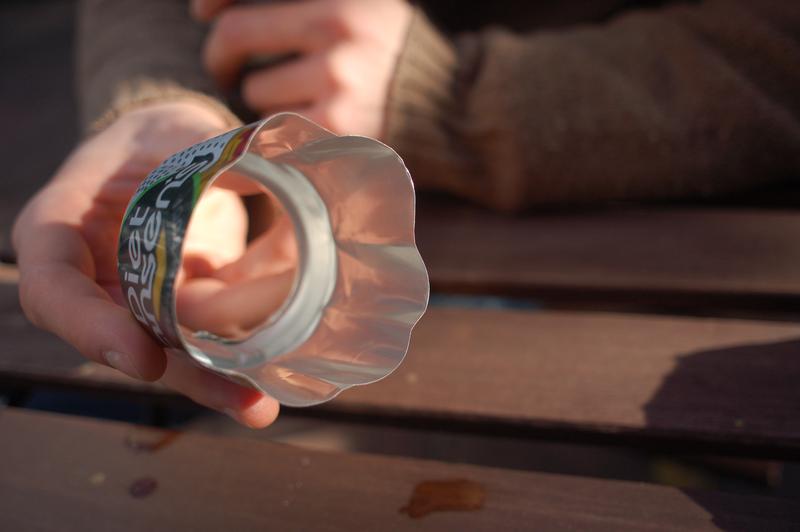
Note: the indents should look something like this. Make sure you make a good indent where the crease is (this is the more important part)
8 - Nest the top portion into the bottom portion.
Note: This is a little tricky. If you don't get it at first try again! Be careful not to bend the cans too much.
Note: Once nested you should be able to see the dents you just made in the top piece. If you don't go back and ensure you made a large enough indent on the crease of the top piece.
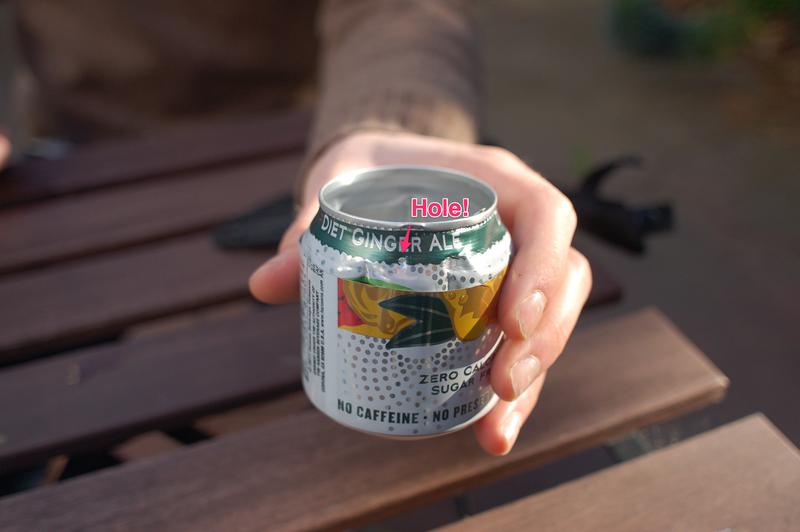
9 - Make the vent hole
Note: I used my large knife for this step. I used the weight of the blade and turned back and forth until I could see the tip of the blade poke through the aluminum.
10 - Test it out!
Congrats! Your alcohol stove is finished. Now let's test it to make sure it works!
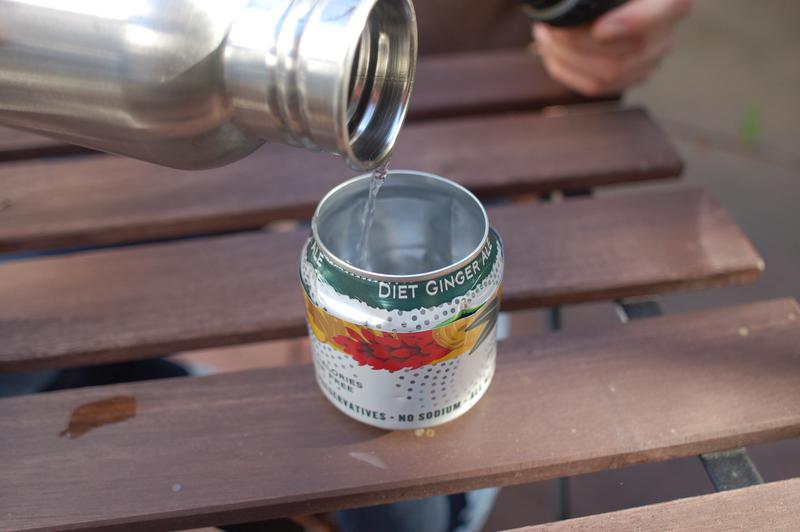
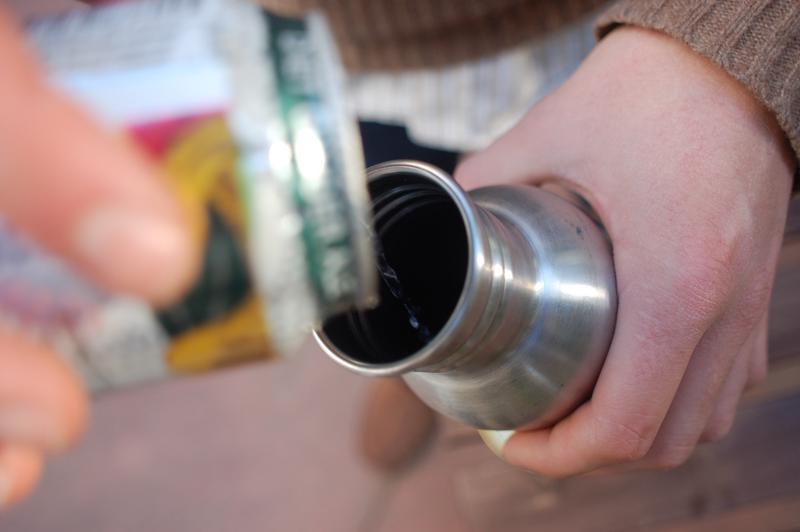
10a - Fill it with alcohol.
10b - Light it!
Use a stick or twig and light the tip on fire. Stick the tip inside the stove. The alcohol vapors should ignite.
Note: Another way to do it is to use some fire steel. Using a cigarette lighter is not advised!
Warning The flames are almost invisible in normal daylight. We suggest you do this where you're not in direct sunlight.
10c - Put a pan on top.
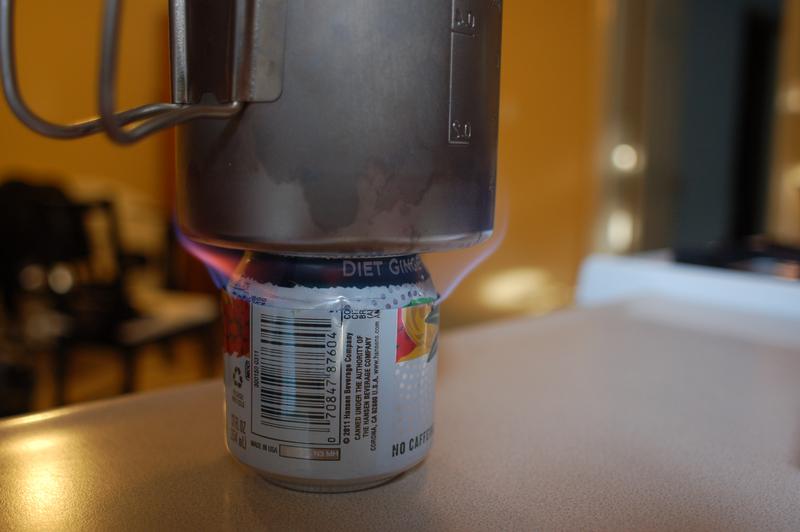
10d - Watch your water boil!
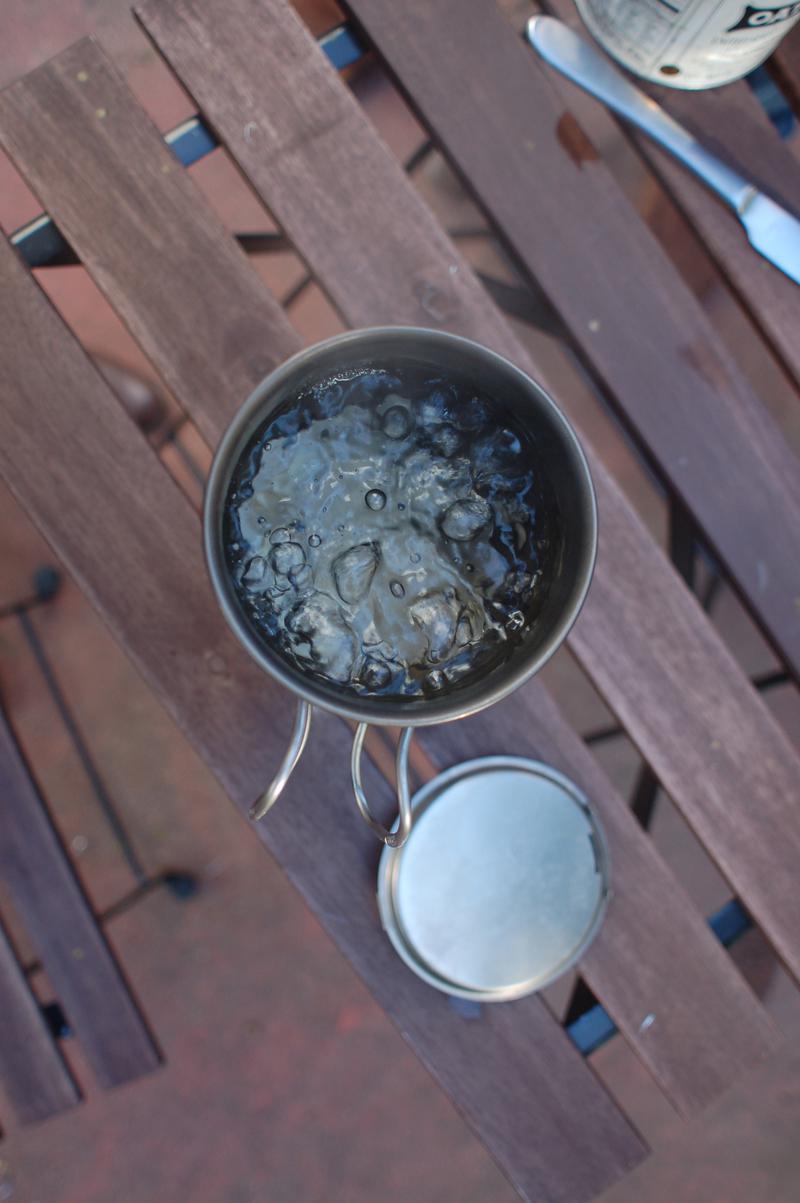
Note: This stove took about 8 minutes and 45 seconds to boil about 500 mL. It used about half the alcohol I placed inside the stove.
11 - Clean up
11a - Put it out!
Do not attempt to blow out this stove. The best way to put out this stove is to smother it with a large can or pot. We've used empty steel cut oats containers in the past with great success. (Like the one below)
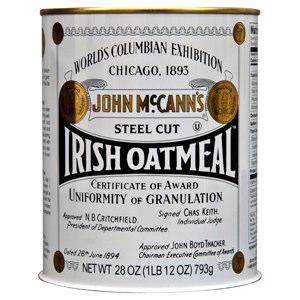
PS: sure the container makes good contact all around with the same surface the stove (or it won't work). We are trying to deprive the fire of any more oxygen. If there is still a good supply of oxygen it will be difficult to extinguish the flames.
11b - Pour back the unused alcohol.
Conclusion
So that wraps up this post. We'll be talking more about stoves in the near future. Until then, stay tuned!
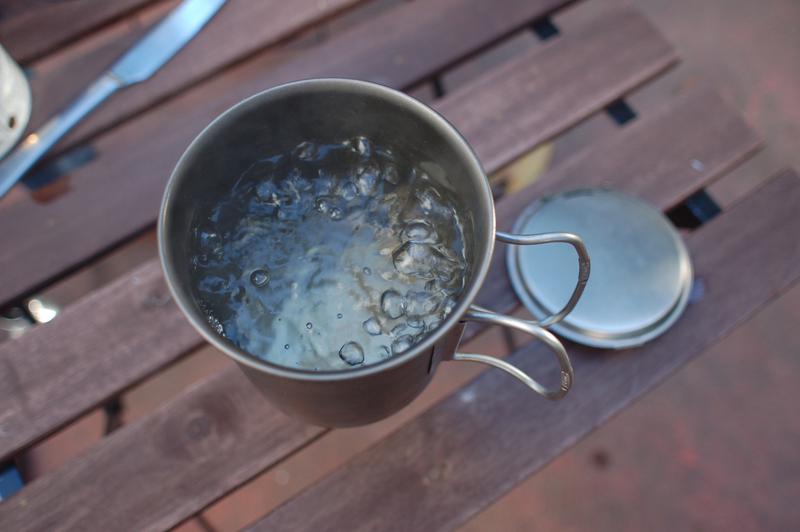
Image credit and thanks to: Robin Yang